Secret santa 2022
08 Jan 2023 - sam
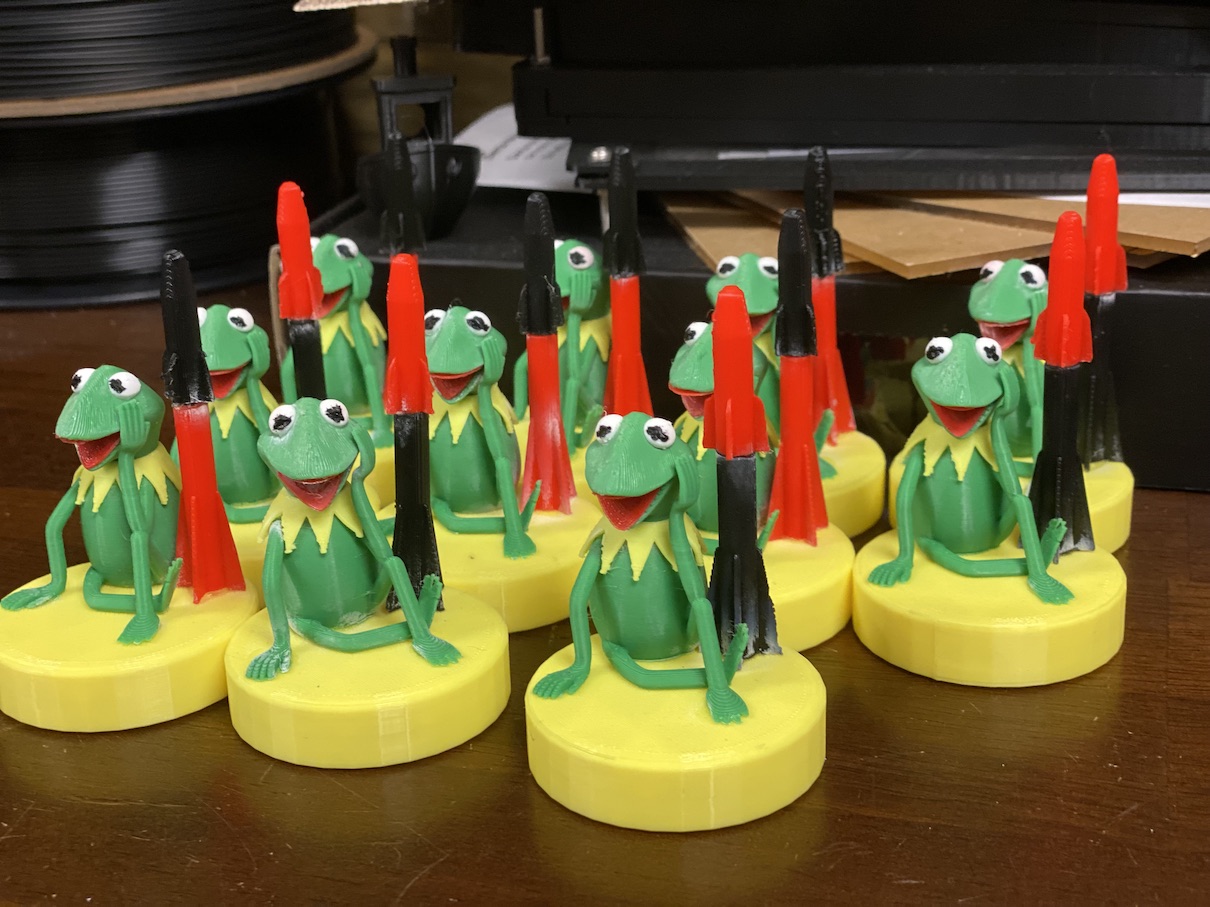
In fall 2022, I made some 3D printed stocking stuffers for my friends for our secret santa gift exchange.
3D Printing
In 2022 I bought my first 3D printer, the Creality Ender 3 V2. This printer is kind of a basic printer with a decent core feature set, competitive price point, and a large community of hobbyists working with it. As a result, there’s lots of tutorials and upgraded firmware versions, as well as after market upgrades available for it.
Throughout the year I’ve tuned the printer, upgraded its firmware, installed an auto bed-levelling kit, changed out the default printer bed with a flexible magnetic one, and also set up octoprint along with lighting for monitoring ongoing prints remotely. It’s been a rewarding journey getting into 3D printing after being interested from the distance for a long while overall.
My initial goal with the 3D printer was actually to build something I personally wanted to use, but the commercially available versions were too expensive in my opinion. Having mostly accomplished that initial goal, everything I’ve done with the printer since then has been added value to me at the cost of only the energy and filament used.
Kermit, Missile Toads
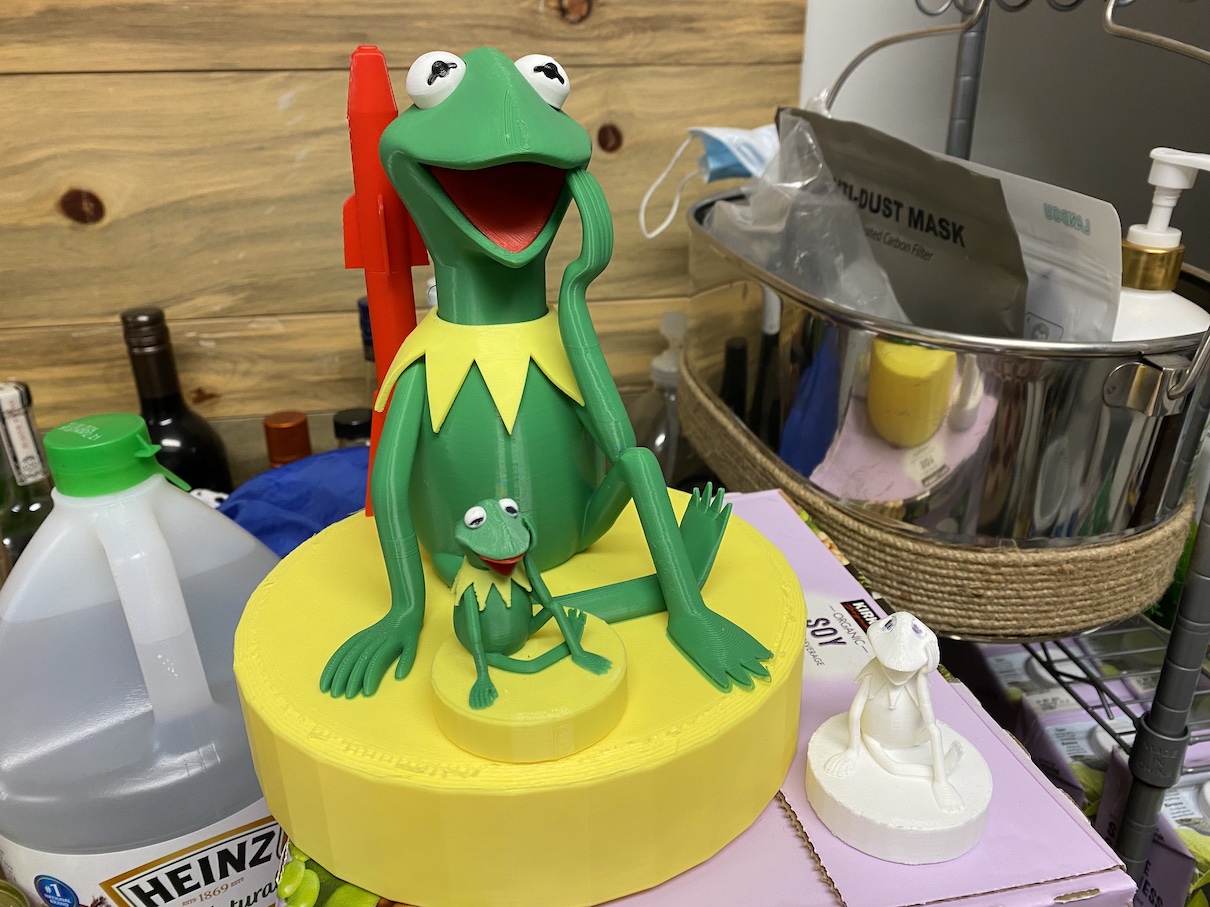
I wanted to take on a small challenge with the printer and give somehting a little memorable to my friends for the gift exchange. For the Christmas season it seemed that a Missile Toad would be appropriate. It just so happened that our group chat’s mascot was a kind of messed up Kermit (credits to Third Dimension Creations), so a Kermit-themed Missle Toad seemed perfect.
Test Prints
I was able to find a ready-to-print model of Kermit, and found a few different versions of stylized missiles. To complete the piece, I modeled a base for the two to sit on, and embossed some text underneath to commemorate the group.
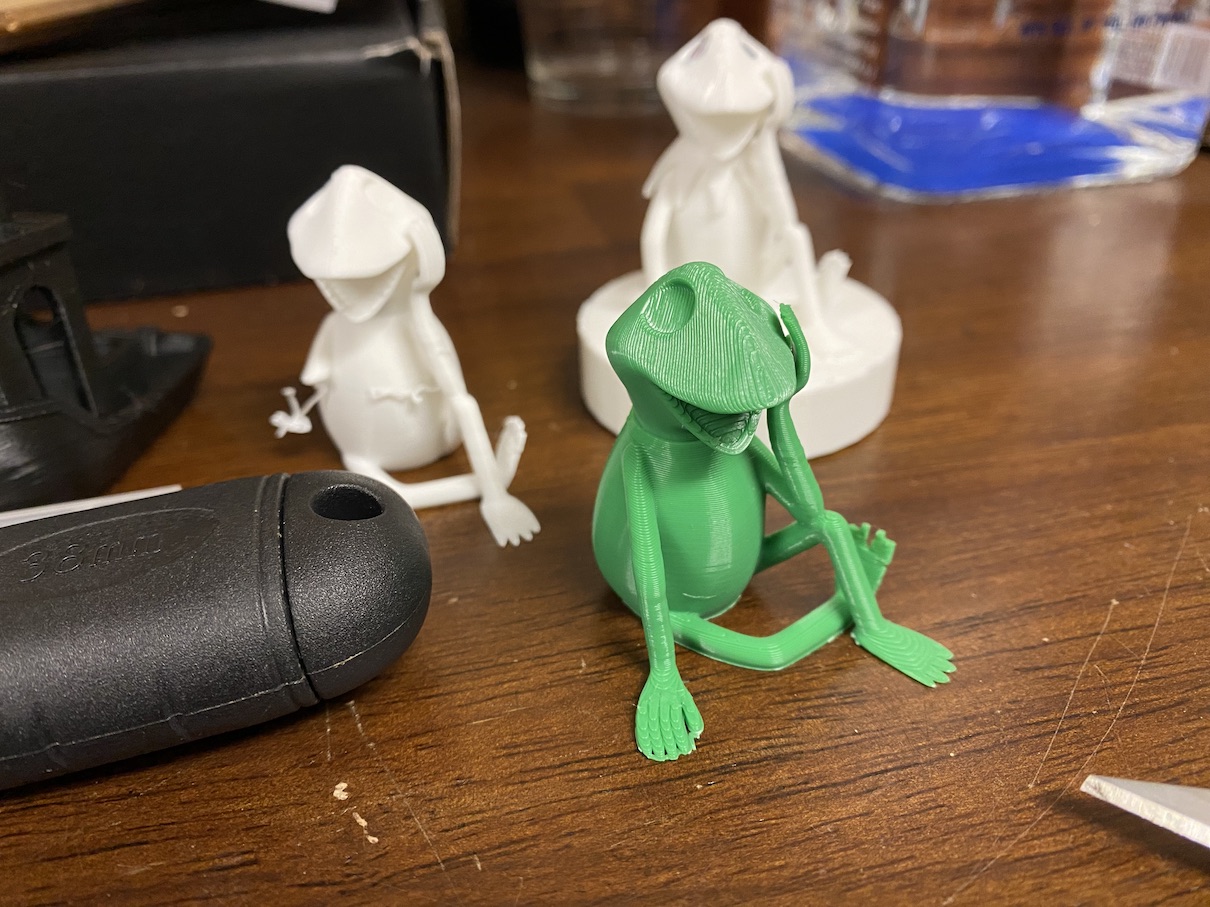
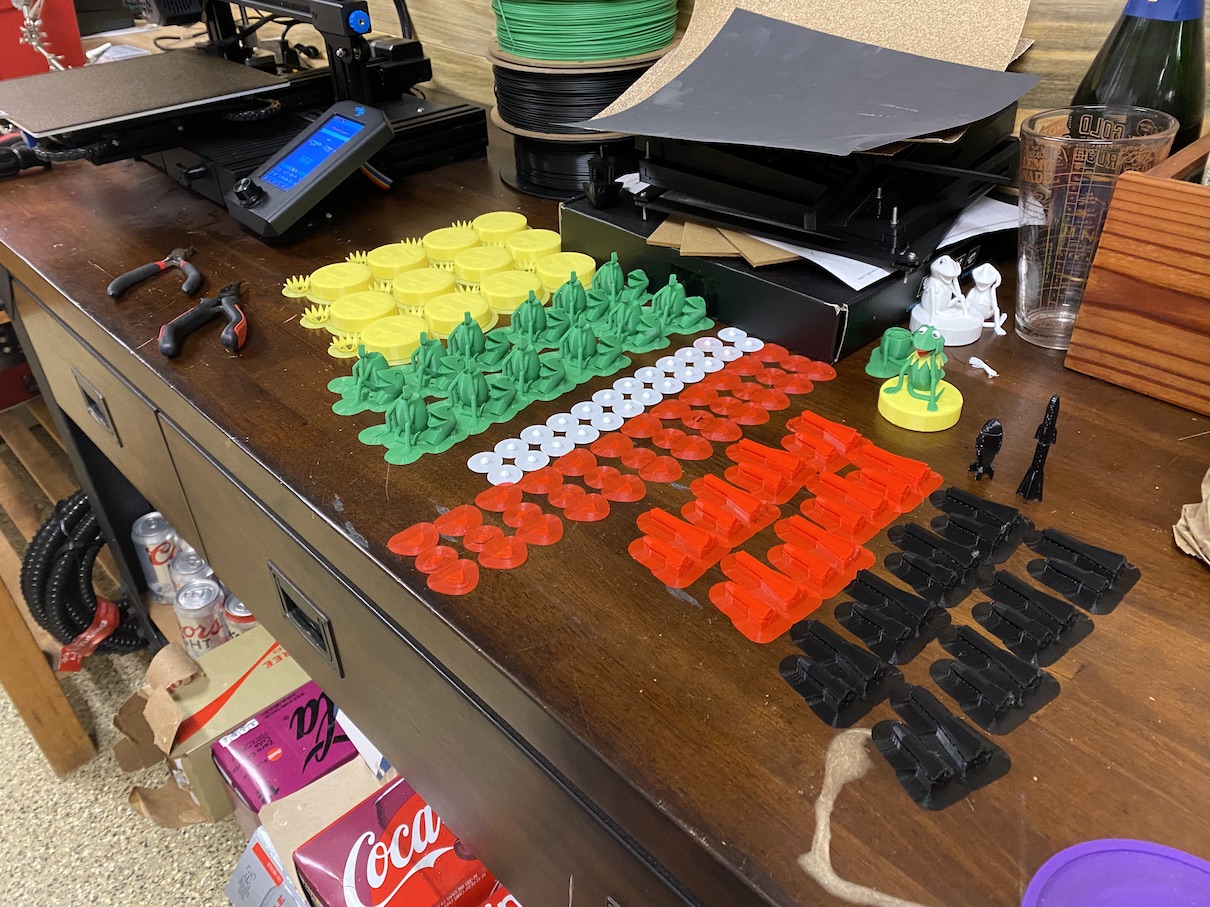
I made some initial test prints to see what print settings would work best. I wanted to balance print time and quality, since I’d need to reproduce the prints about a dozen times for each member of the group. Where it was possible, I printed multiple pieces at once, and otherwise I printed individual pieces one at a time.
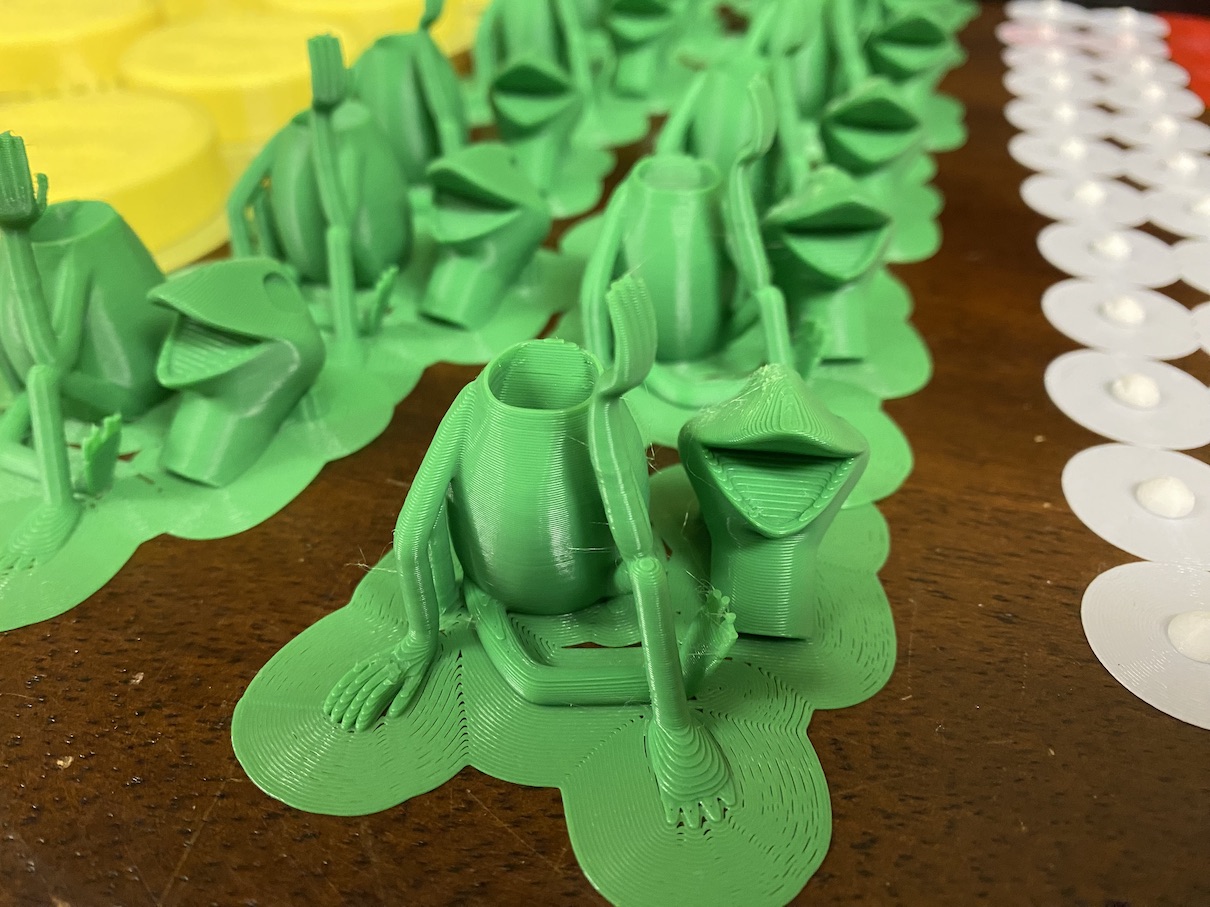
In the end, I was able to get decent quality prints while printing 4x of the missiles and some of the smaller parts for the Kermit print. Kermit’s body and the base (along with Kermit’s ruff) needed to be printed one at a time.
Assembly
After printing all of the individual pieces, the parts needed to be assembled. This was pretty straightforward, and the process looked like the following:
- Individual pieces for a single assembly gathered
- Bed adhesion was manually removed / trimmed for all pieces
- Kermit was assembled
- The neck of the Kermit head was filed down to fit better in the slot
- The ruff is cleaned of excess filament
- The head, ruff, and body were glued together using super glue
- The whites of Kermit’s eyes were attached
- The red of Kermit’s mouth was attached
- A missile top and bottom were glued together as one piece
- The Kermit assembly and the missile along with the base were glued together
- Once the glue had dried, Kermit’s eyes were painted on
Big Boy
Since these were all printed at a smaller scale, I also made one large print at full scale. The smaller prints didn’t allow for the black parts of Kermit’s eye or mouth to be printed well enough, but at full size these pieces worked just fine. Otherwise, the printing process and assembly was identical.
